According to the Apple official documentation, to copy a time machine drive to a new drive (maybe a much larger drive) you have to:
- connect the old disk and the new one to the same Mac via cable (you cannot copy a Time Machine disk via network)
- format the new disk with GPT (GUID Partition Table) and Journaled HFS+
- Set permissions on your new backup disk (unselecting the “Ignore ownership on this volume” option)
- turn off Time Machine
- copy with Finder the folder “Backups.backupdb” to the new disk
Well, after two days (the time needed to copy Time Machine data is very long for nearly 1TB of files) the copy process was not ended and the occupied space continued to grow on the new disk over the real 1TB.
I think this problem was due to the Finder, not being able to understand all the hard link used by Time Machine to reduce the backup’s size.
So, even if Apple recommend to use Finder to copy a Time Machine backup disk, this method is not working (at least on my macOS Mojave 10.14.6 system).
After some research I have found a way to successfully copy a Time Machine disk to a new disk:
- connect the old disk and the new one to the same Mac via cable (you cannot copy a Time Machine disk via network)
- format the new disk with GPT (GUID Partition Table) and Journaled HFS+
- Set permissions on your new backup disk (selecting the “Ignore ownership on this volume” option and adding your user the “Read & Write” privileges to the disk)
- turn off Time Machine
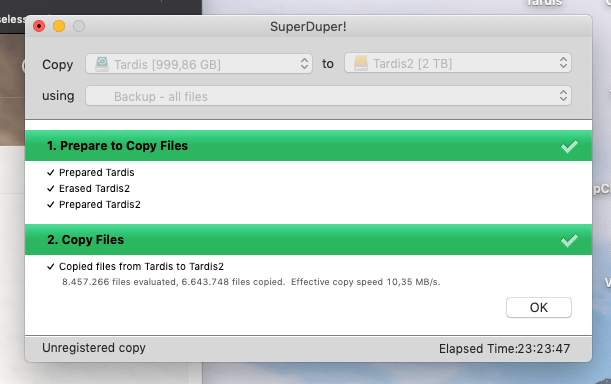
- install SuperDuper! and make a copy “Backup – all files” from the old disk to the new one

Using this method I was able to copy my old 1TB Time Machine disk to a new 2TB disk, without loosing all my previous backups and using the same space on the new disk.
SuperDuper! is a commercial application but you can install it and complete the job with the free and unregistered version.
I also suggest to buy a SuperDuper! license to support the author for creating this great and powerful software. 🙂


0 Comments